|
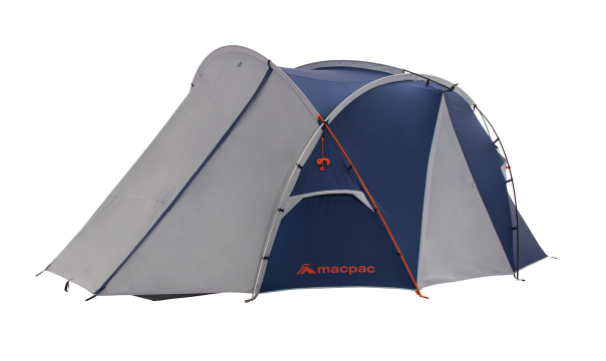
5/29/2019 1 Comment How to pick your first hiking pack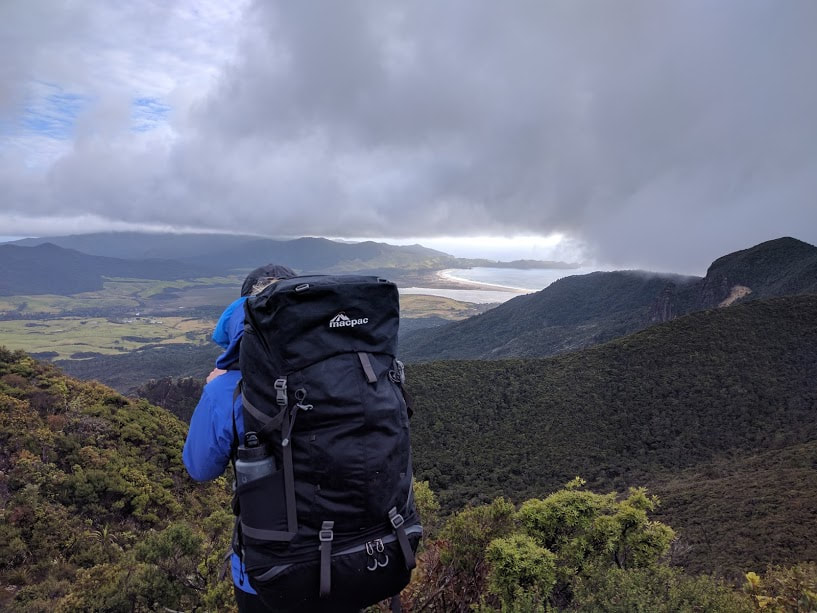 The classic Macpac Cascade has been a right of passage for many Kiwi and Aussie hikers over the years There are few things that can really make or break your hiking/tramping/bush walking experience as much as your pack and for that reason it's often the most researched piece of kit that people buy. With so many things to take into consideration (size, weight, harness design and fabric just to name a few) it can be difficult to narrow the choices down to just one option. If you decide that this outdoor adventure thing is going to be a big part of your life going forward, you may find yourself in possession of several packs that meet more specific requirements but if you're just starting out then you want the pack that will suit you best, most of the time. The following overview will explain what the different pack styles are and how to find one that will be right for you, at a price that fits your budget as well. Questions to ask yourself before you go diving into the black hole of gear reviews online: 1. How far and how long am I aiming to be hiking for? Mostly day trips, over-nighters or multiday missions?
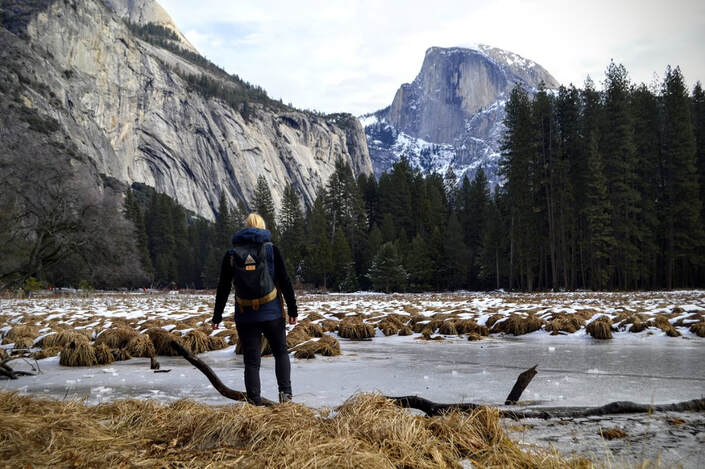 A good day pack should work for travel, commuting, hiking and general shenanigans 2. How small and lightweight is the rest of my gear? If you're just starting out then you probably don't have the most space saving and minimalist collection of kit so a larger pack may be necessary in the beginning.
3. What sort of terrain am I planning on encountering and how well do I expect the pack to last as a result?
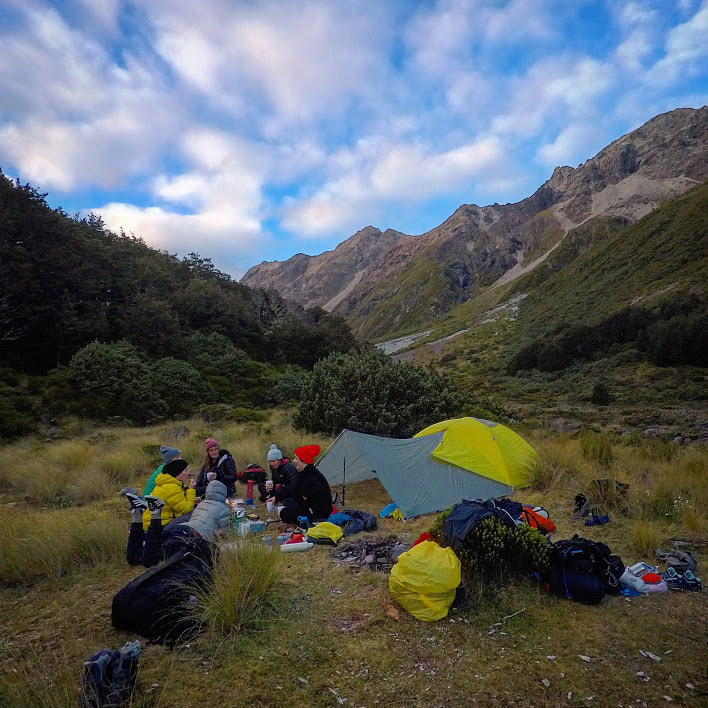
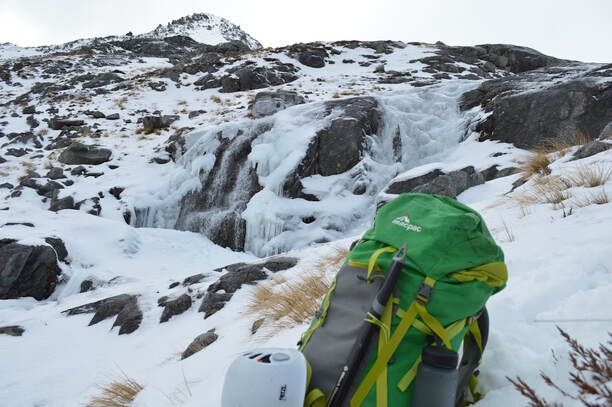 Canvas performs well in snow as it's highly water resistant but you'll notice the extra weight over a synthetic pack 4. How much can I actually carry and how important is comfort versus weight and speed when I go out?
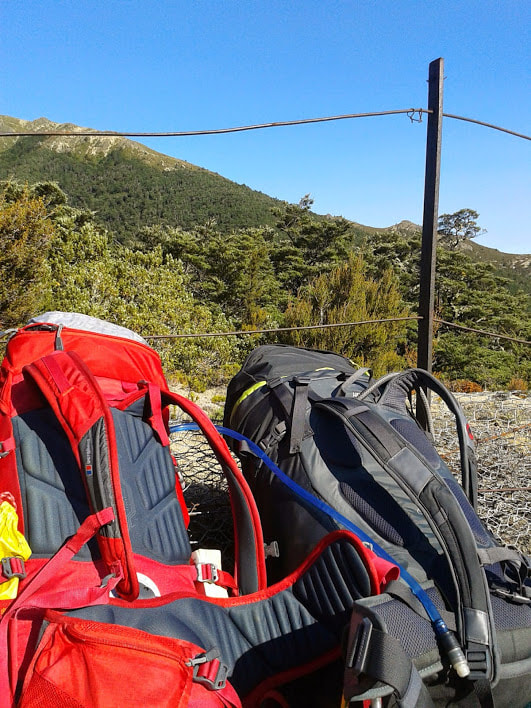
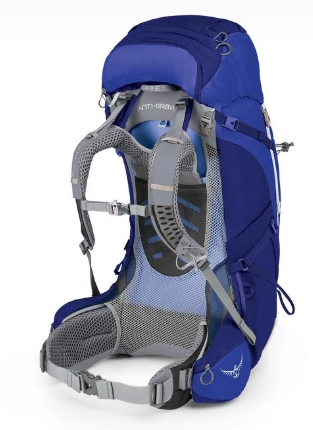
So I know what my needs are now what else do I need to look for when I hit the shops? Important Features
Last but not least:
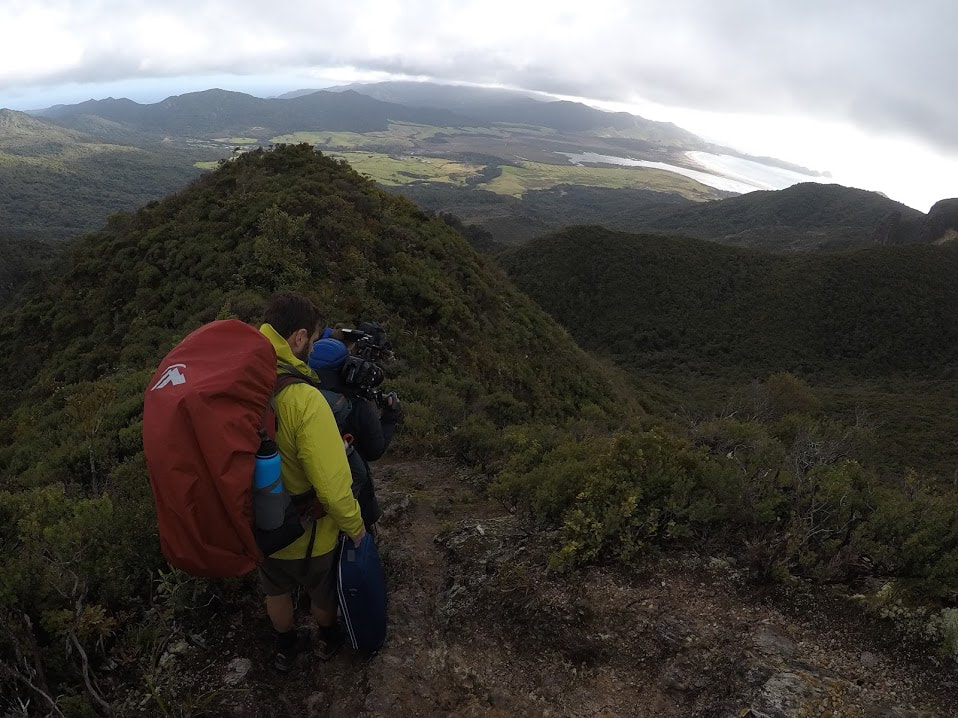 A good rain cover is worth it's weight in gold, especially when you're carrying camera equipment. On location for Macpac at Great Barrier Island
1 Comment
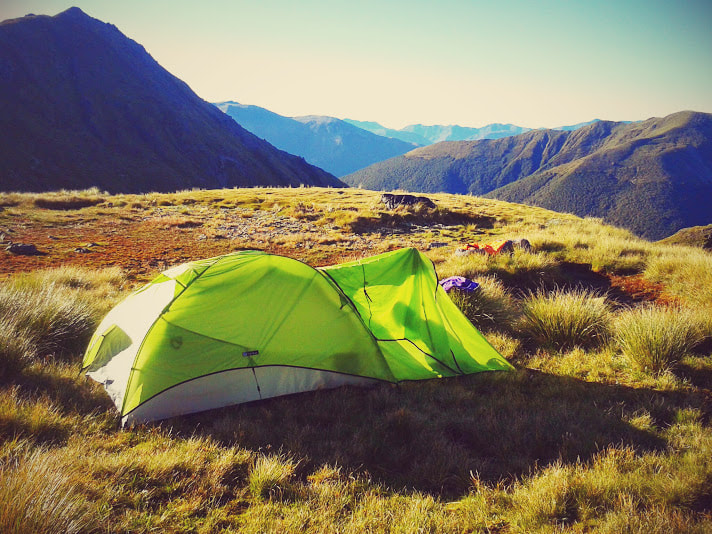
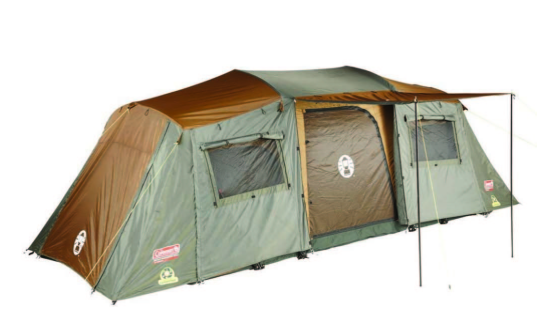
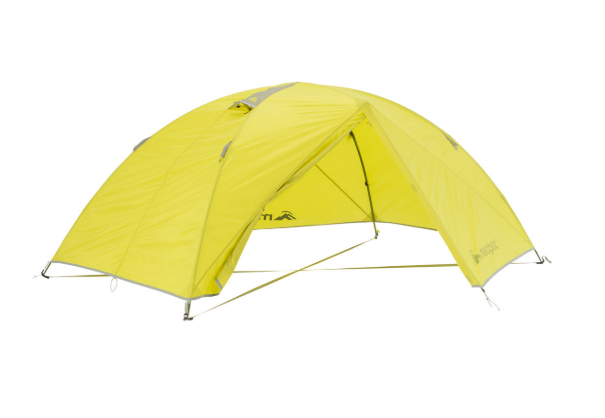
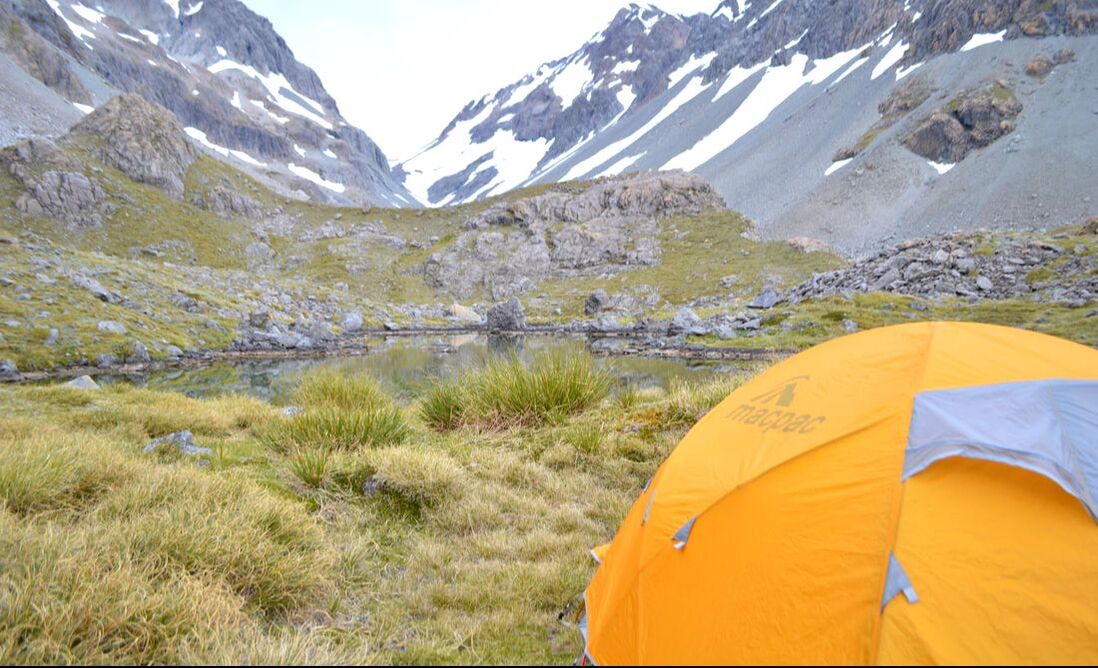
5/15/2019 1 Comment Which tent is right for me?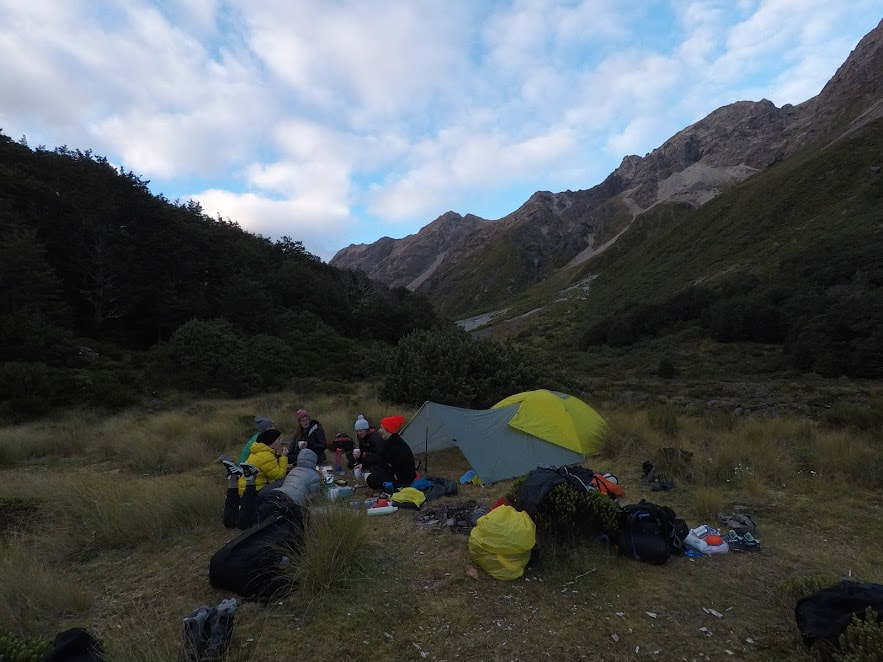 Our 7 person 2 man tent/tarp set up necessitated by a very full Crow Hut one evening One of the biggest decisions that most hikers are faced with at one point or another is how to pick which tent to buy. The options seem endless and the amount of information and technical jargon can easily overwhelm. With that in mind we have put together a few thoughts that will hopefully help you spend your money wisely and end up with a tent that ticks all the boxes. Tents are one of the ‘big three’ pieces of hiking gear (the other two being a backpack and sleeping bag + mat). The ‘big three’ are usually the biggest, heaviest, and most expensive pieces of gear that hikers carry and as such require a bit of thought before you part with your hard earned cash. If the opportunity arises, take a friend's tent for a spin if you're thinking of buying something similar as there's nothing quite like trying the real thing before purchasing. Before we continue a quick word on a term you will see used when measuring the waterproofness of fabric - Hydrostatic Head or HH. This is a measurement of how tall a column of water your tent fabric can hold before the water begins to seep through, or more precisely the water pressure the fabric can hold before it seeps through. The higher the HH the more water pressure the membrane can withstand before it fails (Rain Jackets tend to have higher HH ratings than Tents due to the added pressure of pack straps and your body movement on the fabrics themselves). Another variable to take in to account is that when you place added pressure onto an area of your tent water will seep through easier as the water is now under more pressure (e.g. The floor when you sleep on it, or the fly when snow begins to accumulate on it). For this reason tent floors are often made of fabric with a higher HH rating than the fly. The tent floor also has to cope with the abrasion that comes from the ground, sticks, rocks and any other obstacles placed underneath it. When thinking about how waterproof a tent will be also look at how the entrance and exit points are designed, the quality of the zips, and the type of seam sealing used as these are all weak spots that will allow water in if designed poorly. The second term you'll come across is a season rating which can be annoyingly subjective depending on where a tent company is based and how conservative they choose to be when advertising the capability of their tents. In general it is as it sounds, a 2 season tent should comfortably withstand all conditions in the Summer and late Spring/early Autumn months which is when most hikers are using them. A 4 season tent is suitable for pitching in the depths of winter, in alpine environments and will have stronger pole and fabric designs to deal with snow loading and strong winds. In general NZ designed tents will be rated based on NZ weather conditions which are considered wetter and somewhat more unpredictable than other areas of the world so make sure you use key objective measures like HH and the composition of the poles themselves to compare between tents, not just season references alone. The first thing to think about when trying to pick a tent is how you intend to use it. I know that this seems like an obvious question but bear with me. Firstly do you intend to camp in one spot for multiple nights (perhaps with the family in a spot you have driven to) or are you going hiking and need a tent which will be pitched at night and packed up in the morning (and in your pack during the day as you hike)? This is the first difference that you will notice when picking a tent. A camping tent is perfect for a trip that has little to no walking involved. They tend to be heavier, and not pack down as small as their hiking counterparts. They are also often available in much larger sizes so as to be suitable for the whole family. If you are buying from a reputable brand the floor and fly material will often be of a similar quality to the hiking tents from the same brand but their weight and size will normally limit their use to vehicle accessed areas only. Camping tents are also not usually designed (in terms of the pole design/composition or fabric) to withstand the more extreme weather conditions that can be experienced in the mountains. A hiking tent on the other hand will be designed to be carried in a pack and therefore will pack down as efficiently as possible, and weigh as little as possible. They also tend to be able to withstand more extreme weather conditions. We will focus mostly on the hiking tent side of things as typically most of our readers are hikers! The second part of the equation is to think about what kind of terrain you normally hike in and what areas and weather conditions you intend to use your tent in. For the purposes of this post we will break it down into the following categories: The fair weather hiker: you mostly sleep in huts, walk on well marked trails, and want a tent as a backup in case of the hut being full, or to allow you to hike and tent on summer trips when the sun is shining. Sure - you still need a tent that can cope should the heavens open but you don’t intend to be up above the bush line when that happens and the thought of pitching a tent on the snow makes you shudder. You should be looking for a two season tent. This will be more than adequate for the bulk of your hiking and will ensure that you stay dry should you get caught out. Two season tents are usually lighter than there 3 and 4 seasons counterparts which allows you to keep your pack weight down and enjoy the journey minus those sore shoulders hikers often experience. For a two person two season tent look for something in the 1.5 - 3kg range. The floor hydrostatic head should be at least 3000mm HH for NZ conditions and the fly should be at least 1000mm HH. Expect to pay around $250 - $500. Bonus Points: Some tents can be pitched fly only or tent only (often referred to as "multi-pitch") which is helpful for a couple of reasons. If it's raining in the morning you can dismantle the tent from inside while keeping the fly overhead as you pack all of your gear. The last thing you do when you're ready to go is pull down the wet fly and poles and stow them on the outside of your already packed pack. Secondly, you can take just the fly and pole set for a more structured tarp set up on a more minimalist trip. This gives you the full space of both the tent and any vestibules (see the photo at the beginning of this post) to sleep under. Alternatively you can sleep in just the tent itself which offers significantly more ventilation but relies on no precipitation overnight. Bottom Line: These tents are at the cheaper end of the scale and will suit many hikers fine but will need an upgrade should you start getting into more difficult trips or trips to higher elevations.
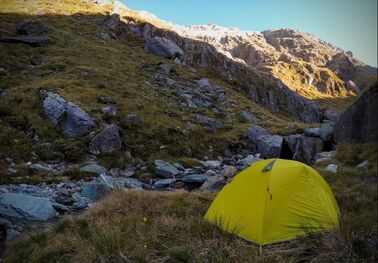
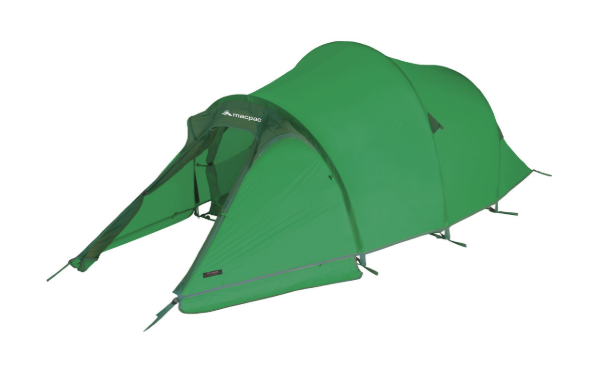
The Backcountry Wanderer: you often venture off track and spend nights in areas away from huts where having a decent tent is a non-negotiable. You intend to use your tent as your only means of shelter on some trips and will take it on multi-day trips where the weather forecast is less certain. You should be looking for either a 3 or 3 - 4 season tent. These will likely be slightly heavier than the two season tents and are usually 2.5 - 3.5kg for a two person tent. The extra weight comes from the fact that these tents have heavier fabric with a higher HH rating. They also often have stronger tent poles and may have extra poles to reinforce the design and allow them to stand up to harsher weather conditions and higher winds. For this category we strongly recommend that you get a tent with a 10,000mm HH floor. While there are many tents on the market in this category with floor ratings of much less than this we believe that if you want a tent that will both cope well with the often boggy and saturated ground encountered in NZ and have a long lifespan then this is an area you shouldn’t skimp on. The fly should ideally be 1000 - 3000mm HH. Expect to pay $400 - $800. Bottom Line: This type of tent is what most hikers actually require and for the vast majority of the time will be appropriate for the conditions in NZ.
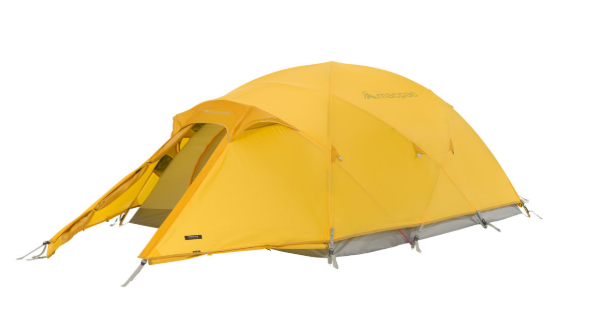
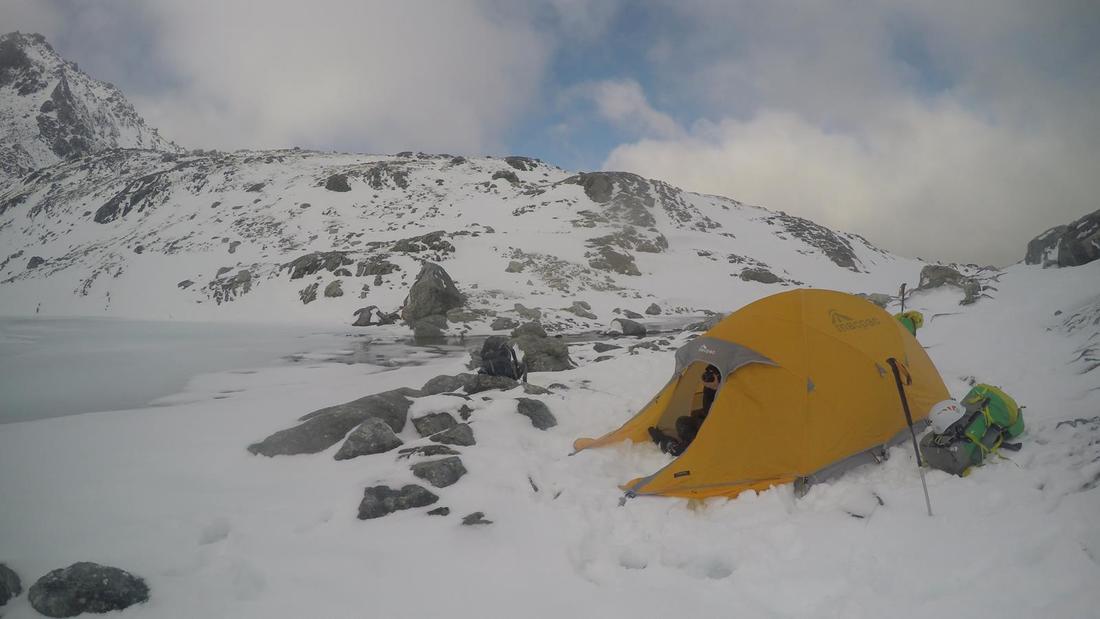
The Alpine Maestro: Tracks mean nothing to you! You long for the open tops and snow covered slopes of the mountains and need a tent capable of taking a hammering from the wind and coming back for more. You need to be able to set up camp on the snow and need a tent that will cope with a blizzard and offer you shelter from the storm. This is where the 4 season tent comes into play. These tents are made of the most bomb proof material and are built to stand up to the worst that mother nature can throw at them. They will often have more poles which overlap and provide significant strength to the tent structure. In this category again look for a floor with 10,000mm HH and a fly with 3000mm+ HH. These suckers are heavy - for a two person 4 season tent expect it to weight 3 - 5kg. Expect to pay a fair bit as these tents are not cheap to make: $800 - $1200. Bottom Line: Quite a few people fool themselves into thinking they need a 4 season tent but the reality is unless you are a mountaineer or hardcore backcountry tramper spending nights above the snow line you probably don’t. Keep this kind of tent for expeditions and serious backcountry adventures only. It really isn’t fun lugging 5kg of tent around on your back….
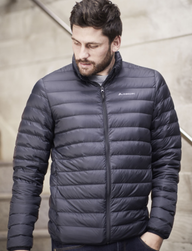
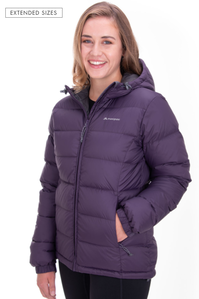
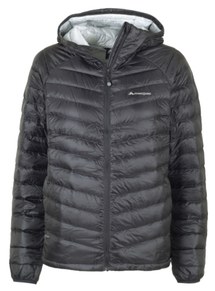
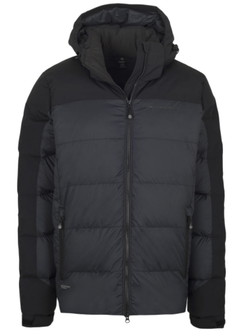
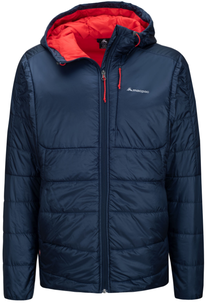
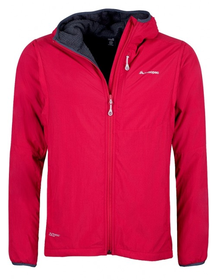
The Ultralight Hiker: Light and Fast is your mantra and the last thing you want to be doing is carrying around a heavy, bulky shelter. You are used to being a bit more spartan with your gear choices and are happy to sacrifice a little in the way of comfort at night in order to enjoy the lightweight life. You have a few options. From super lightweight tarps which you pitch using trekking poles, to one man bivvy bags that require no pitching at all. More and more super lightweight shelter options are becoming available each year. A tarp and groundsheet setup can come in at as little as 500g, with actual tents being closer to the 1kg mark. The options are simply too many to go into any great detail but there are a few things to consider. Many ultralight shelters are made by American outdoor companies and are designed to handle the often more predictable climate of the continental US. This doesn’t mean that they are useless in NZ conditions but it is worth taking into account as often (but not always) the HH ratings tend to be at the lower end of the scale. Also bear in mind that if you are going to use a tarp as your primary means of shelter then they require practice to pitch well and need to be pitched taking into account the current weather conditions so as to ensure that rain doesn’t blow in underneath them. Tarps also leave you exposed to sandflies so you may need to consider taking some other means of saving face (literally). That said we do own a tarp and have used it on a few trips with good success but I guess I enjoy the comfort of a tent more! Prices vary from a couple of hundred dollars through to well over a thousand depending on what you are looking for. Bottom Line: Picking this type of shelter is a very personal decision based on how you want your sleep system to work. Any ultra lightweight shelter will ultimately be less durable and have a shorter lifespan than the other options above. While some of the newer fabrics are perhaps the exception to this rule (I’m looking at you Cuben Fibre) expect to empty your wallet in a big way to get a hold of them. 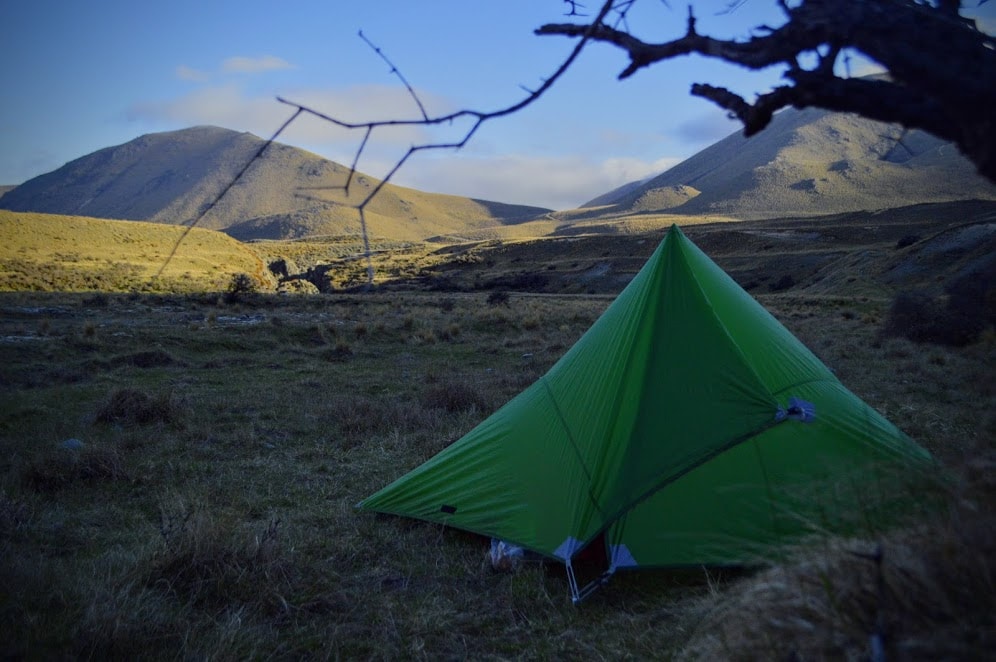 Tarps are great for weight saving and forcing you to get up at the crack of dawn when the sand flies appear 2/27/2018 1 Comment The Lowdown on Down Jackets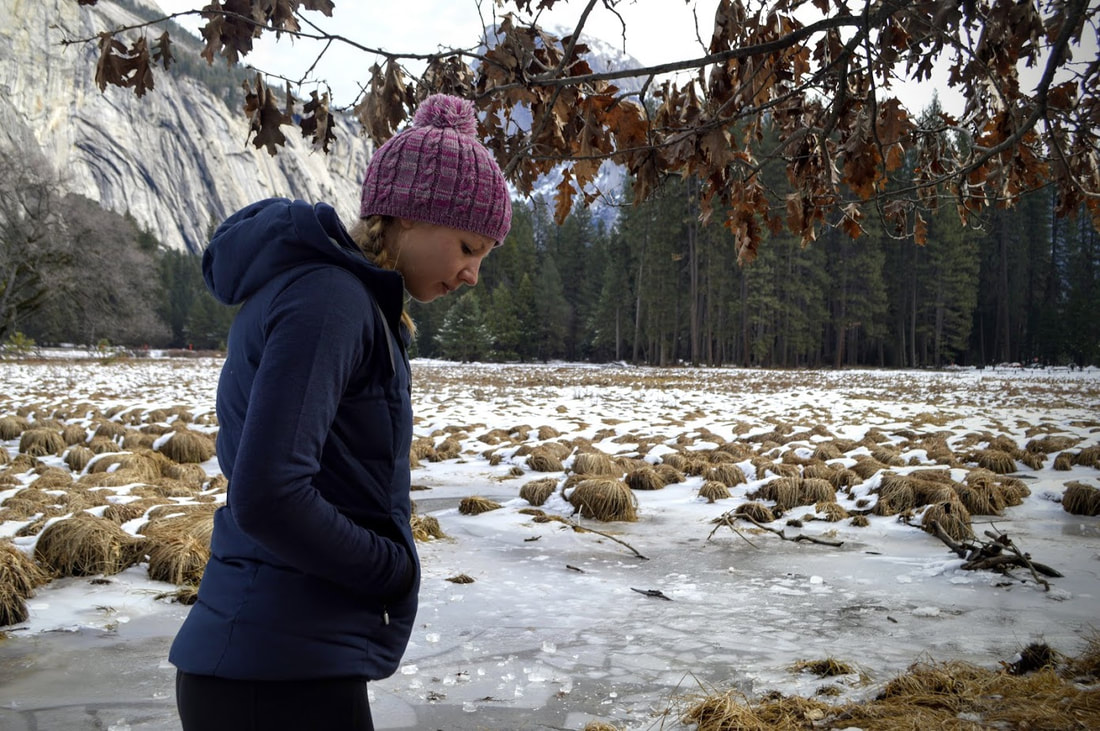 It seems like these days that every man and his dog has a down jacket of some description. Mostly these are being paraded through the local Westfield Shopping Centre or on the side of the rugby field on a chilly Saturday morning but a chosen few do in fact make it out of suburbia and into the wilderness. We are more than spoilt for choice when it comes to technical insulation layers so how do you choose something that is going to perform for you across the multitude of activities and terrains you might need it for? Firstly you need to ask yourself a few key questions. 1. How much do you really want to spend? Generally the more you pay the better/warmer/more crammed with features a jacket will be but if it doesn't fit the budget then keep looking. 2. Is weight an issue for you? Are you wanting to travel fast and light or slow and well stocked with all the luxuries you can carry? An insulation layer doesn't have to be bulky to provide you with that cosy feeling as you sip a well earned coffee in your tent at the end of the day. 3. Where are you likely to use the jacket the most? As a layer to put on when you reach the hut at the end of clear fine day (you don't head into the hills unless the forecast is perfect), or are you needing something to keep you warm while you bivvy out under a rock ledge you found while bush bashing off route up some unknown valley? Down Jacket Technicals Once you have a good idea of your general needs then you can start looking at the technical features and make an informed decision. Loft and Fill Weight The first thing you need to get your head around is loft and fill weight. Loft contributes to how warm a jacket is, the higher the loft the more volume 1 gram of that particular down will occupy. Fill weight is how many grams of down have been put into the jacket, the loft and fill weight combined tell you how warm the jacket is overall. A high loft and high fill weight make for a very warm jacket. A high loft and lower fill weight make for a warm but small and lightweight jacket. A low fill weight and low loft will be less warm but still light and very small when packed down into a stuff sac or similar.  Water Resistance Secondly you want to know if the down itself has been treated with anything to increase it's water resistance. Hydrophobic or water resistant down doesn't clump together the way regular down does when it gets wet. It also dries out faster and decreases heat loss when it does get wet. This can be great for a jacket that is going to be worn in a range of conditions including rain and snow. Lastly you want to know what type of outer shell has been used on the jacket. Many down jackets have a delicate synthetic outer shell that is down proof (the down can't leak out) but not very water or wind resistant. If you want a jacket that can withstand the elements a bit more, look for something with a Pertex Microlight, Pertex Quantum or similar shell which provides windproofness and some water resistance. Alternatively if you want a really versatile outdoor insulation layer that will keep you warm once it gets wet and is still light and compressible you can't go past Primaloft Gold. This synthetic insulation traps heat in ultra-fine fibres that are both highly water resistant and dry much faster than a traditional down jacket. These are a great option for wearing while climbing in really cold conditions, when stopping for lunch on a wet winter's day or as a belaying jacket. We have been using our Macpac Pulsar Jackets on almost every tramp for the last two years as they double as great pillows when stuffed into a dry bag at the end of the day. They are easy to clean and if you manage to put a hole in one the fill won't leak out the way down would, giving you time to sort a patch back at the hut. Examples of different types of insulation layers from New Zealand Outdoor Company Macpac
You may find you end up with a couple of different jackets depending on whether you want one to wear every day to and from work and one to take out into the hills and mountains with you. I have 3 on the go at the moment and am eyeing up a 4th. The biggest thing to remember is finding the jacket that suits your needs the best and that you'll get to use the most. If you don't want the hassle of looking after a Down Jacket then the synthetic alternatives available now can provide you with comparably good warmth (unfortunately nothing is as warm for its weight as down) that you can still wash and care for with relative ease.
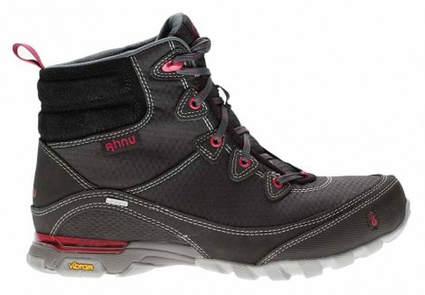
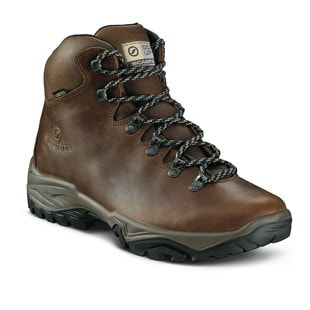
2/26/2018 2 Comments How to Wash your Down Sleeping Bag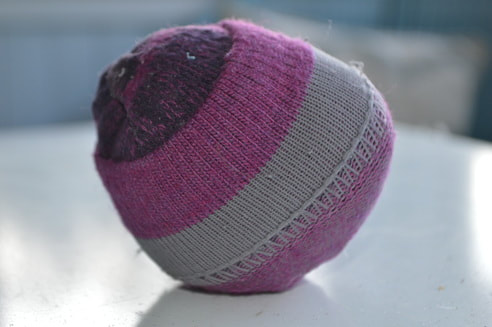 The humble sock ball, seriously underrated if you ask me There comes a time in every trampers life when they look at their sleeping bag and think wow, that thing stinks/is much thinner than it used to be/has burn marks in several places. Do not fear, you can return even the saddest looking bags back into lofty goodness with half a bottle of down wash, a couple of sock balls and oh about 9 hours of your life. Washing your down bag is somewhat of a marathon effort and you should first seriously consider paying to have it done by a professional while you make better use of the time . Also, you will be needing a dryer and a bath so perhaps start by scoping out which of your friends possess both and offer to water their miniature cactus next time they go away for a long weekend. My Mountain Equipment 3 season bag had experienced moderate use over the last 6 years and I was starting to feel a few cold spots where the down was clumping together. This is caused by dirt and the natural oils from your body getting into the down - another good reason to use a sleeping bag liner. In order to return the down to it's former prime it needs to be washed with a product that will clean the dirt away but not deteriorate the down itself, this is where Down Wash comes in. I used Nikwax which you can buy in a 300ml bottle for $19.95NZD and it washed two down jackets and my sleeping bag. Step One: Fill the bath with 4cm deep "hand hot" water and add 3 cap fulls of the Down Wash. Step Two: Turn the bag inside out as any water resistant coatings are generally on the outer shell and will make it harder for you to get the bag properly soaked. Submerge the bag in the water and gently knead the baffles to allow water to seep in through the stitching. Leave for 5 - 10 minutes to soak. Step Three: Rinse the bag in cold water two to three times until the water runs clear. Gently squeeze as much water as you can out of the bag before transferring to the dryer. This is a lot easier with two people as you need to support the bag when wet - they generally aren't designed to carry the extra weight of all that water. 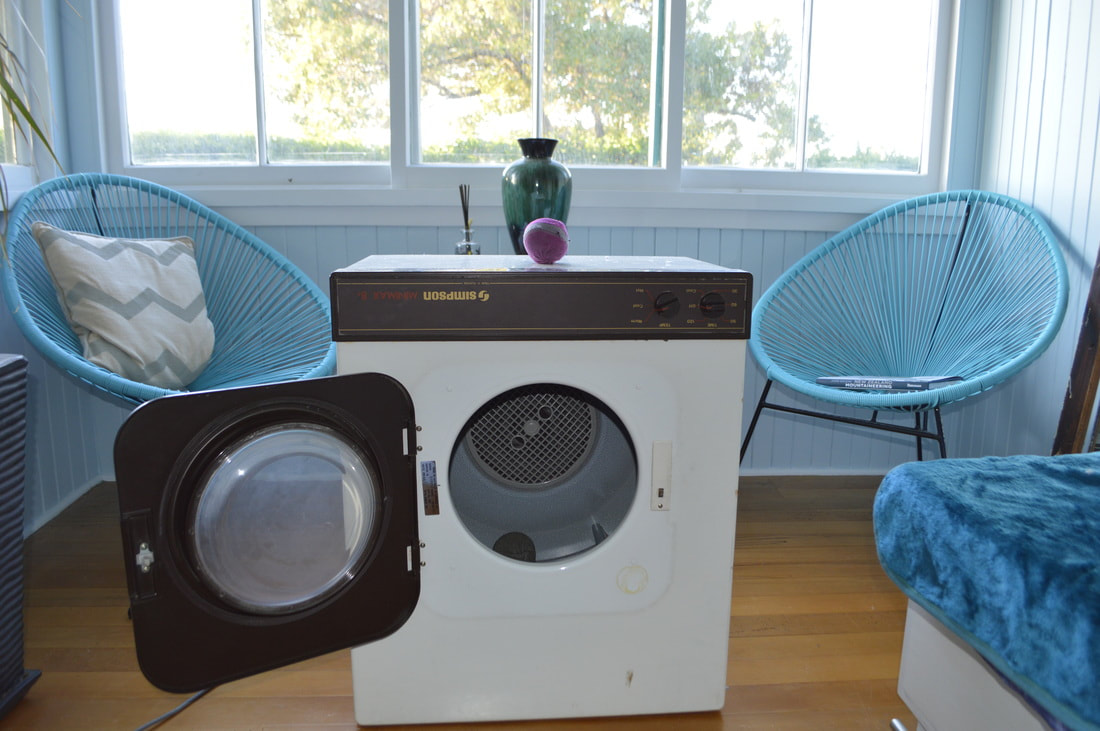 My Mother-in-law's dryer from the 1980s Step Four: position dryer in easy-to-access spot since you're about to spend the rest of your day with it. Place sleeping bag and sock balls in dryer and set for one hour. Step Five: Remove bag from dryer and tease clumps of down apart from within each baffle. This is a most tedious process so I recommend watching a movie or in our case the replay of the All Blacks quarter final thrashing of the French in the Rugby World Cup. Work your way from one end of the bag to the other working out each lump before returning to the dryer for another hour. Step Six: Repeat Step Five until there are no more lumps and the baffles have regained their loft. We ended up doing this four or five times until it was completely dry. As an additional note, the emergency tape I put on a few burn holes 4 years ago (got a little too close to the fire) became heat sealed to the bag whilst in the dryer forming an excellent patch, nice. 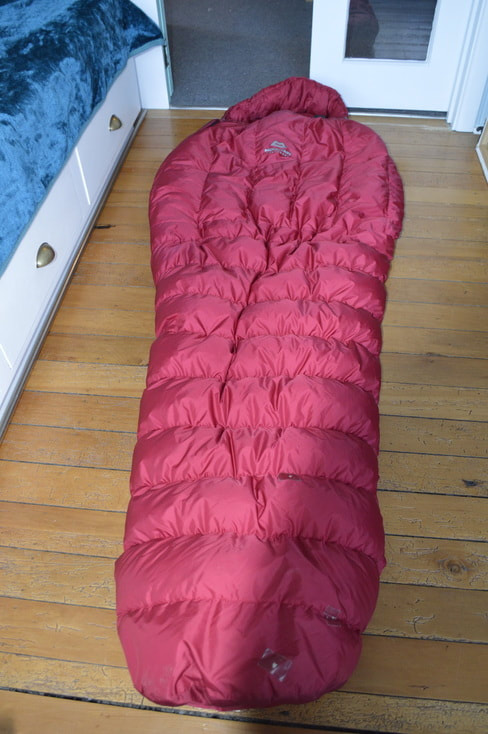 Re-lofted and back in action 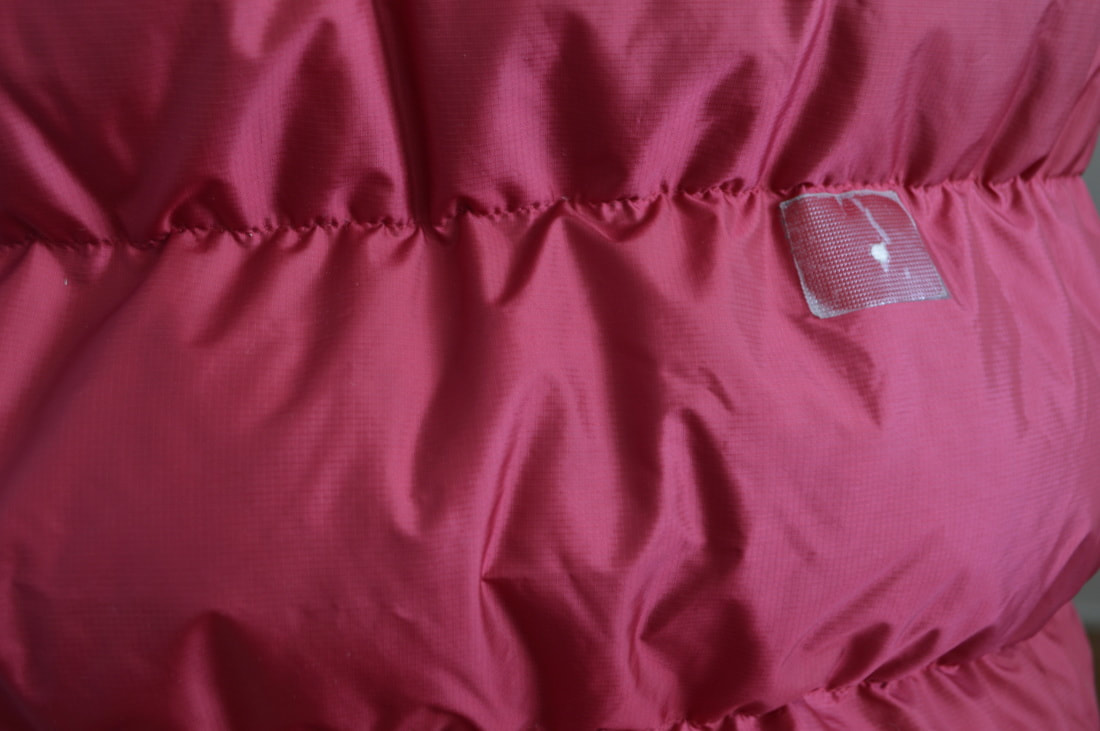 If tape can't fix it, nothing can How to make a sock ball Tie a knot in one end of a sock then roll it over on itself, twist and roll back on itself again. Repeat until you run out of sock and then add another sock and continue until it forms a ball. Show your friends how great your balls are. 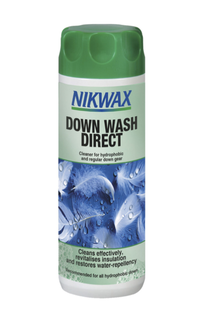 I use this Nikwax product from Macpac to wash all my Down clothing and sleeping bags 2/22/2018 1 Comment How to Choose the Right Hiking Boot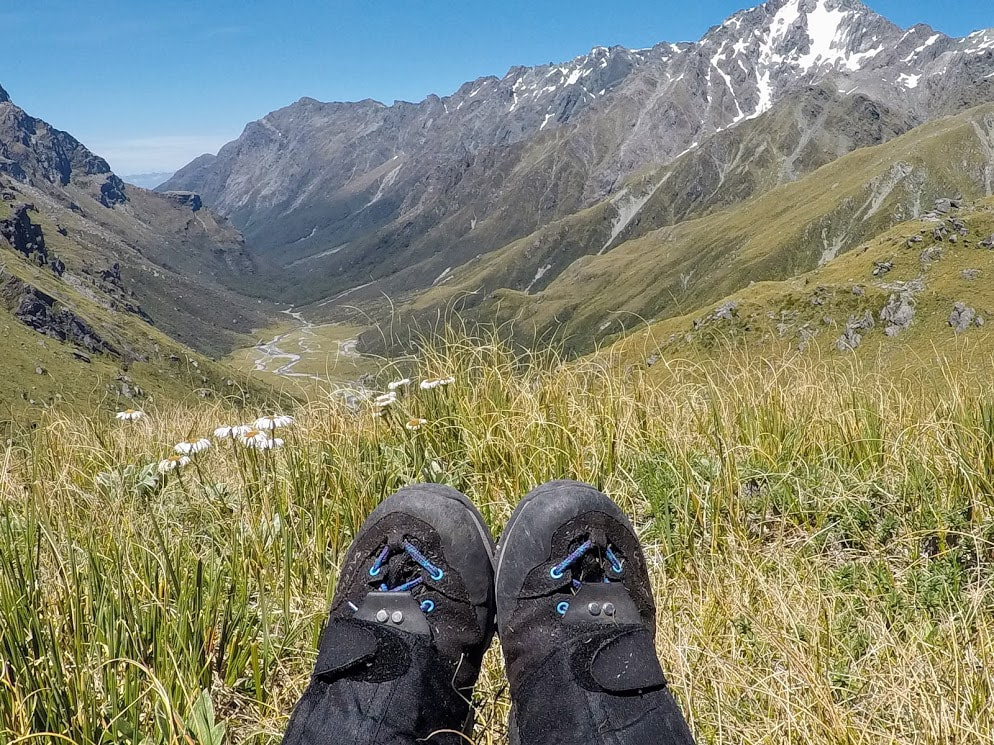 Whether you like to tramp, hike, stroll, strut or frolic through the wilderness there's probably a dozen boots that will fit your needs. Unfortunately, all that choice can make finding the perfect companion for your feet a little daunting and time consuming especially if it's your first foray into the wonderful (cult like) world of outdoor gear enthusiasts. By all means do your homework and read reviews on your favourite products as part of the decision making process but nothing beats sliding on the real deal and dancing/lunging/pirouetting around a store to get that authentic real-world hiking feel. Before you hit the shops check out this overview of what to look for and the main features that make up the difference between a $200 and $600 dent in your pocket. Top tips for trying on boots - Ask for recommendations from staff - they'll know which boots are narrower fitting than others and they're likely to have tried them on themselves so you'll get some good insider knowledge straight away - Bring the socks you intend to wear with the shoes or boots and if you use orthotics make sure you've got them to try on with you at the time - Get you foot measured and try a couple of different sizes in each brand to get a feel for your size across the different boot manufacturers (I range from a 39-40 depending on brand). - When possible, walk up and down some stairs when trying boots as you're more likely to discover spots that have the potential to run or become uncomfortable - Boots shouldn't need too much breaking in, don't buy something that's uncomfortable in store and expect it to soften up everywhere after a couple of trips. They should be 95% comfortable out of the box with the stiffness of the sole and around the ankle perhaps relaxing a little over time. 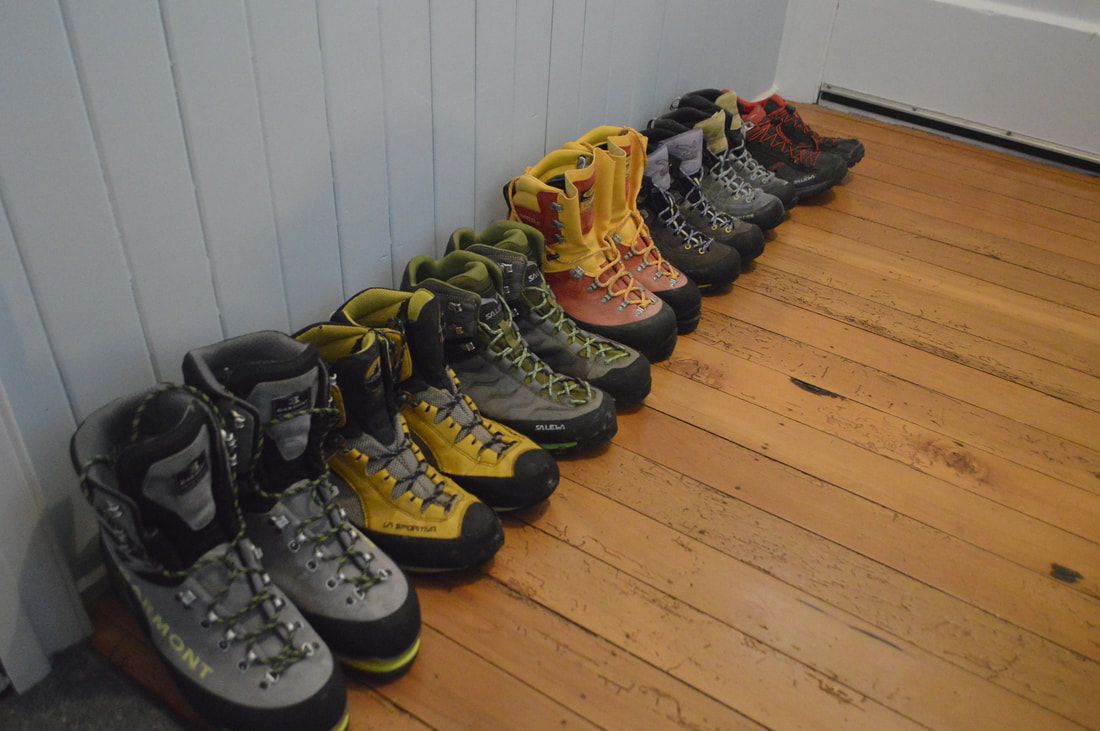 We actually own more boots than this... The 1-2 hour weekend off-roader Do you mostly go out for shorter stints on well-formed tracks with just a small back pack and your iPhone ready for that perfect instagram shot? You're probably looking for a light, low cut shoe with a good amount of cushioning and perhaps a waterproof membrane to splash confidently through very shallow puddles. You don't need the ankle support of a boot because you're mostly on relatively even paths and you want a good amount of flexibility in the sole as you're carrying light loads and moving reasonably quickly. The good news is you also don't need to spend too much on a light hiking shoe - something in the $120 - $180 range should do everything you need it to. Look for models in the trail shoe family if you want something that crosses over into off-road running as well. Look for: - Good grip on the sole, this is the biggest difference between your gym trainers and an actual trail shoe and you'll notice it quite clearly as soon as you hit wet sections of track - Cushioning under the heel, they should feel comfortable right out of the box and shouldn't need very much breaking in at all - Waterproof membrane, even walking through wet grass can soak through non-waterproof footwear and no one likes wet socks - Flexible sole - you should be able to bend this shoe easily making it less work on your feet taking each step and allowing you to be a bit more agile than in stiffer soled boots - Fit should be fairly true to your everyday footwear. You should be able to wiggle your toes freely but feel snug (not tight) across the top of your foot and around your heel. Make sure you walk (normally) around in them for five minutes after lacing them up to see if they're rubbing anywhere or your heel is lifting noticeably at the back. 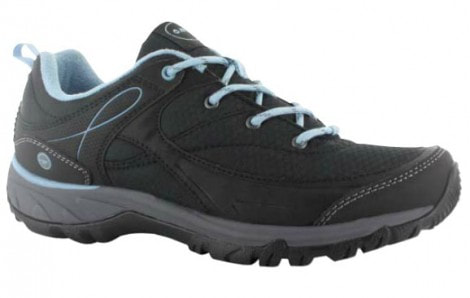 The Hi Tec Womens Equilibrio is a good mix of comfort and support, the sole will give you better traction than a street shoe The all day track wanderer You're mostly completing day trips of more than 4 hours on tracks with some uneven surfaces, mud and other fun obstacles. You're only carrying a day pack but you're on your feet for a while and sometimes go wandering off trail. This is where we transition into boot territory as you want that extra ankle support for less well formed tracks and sometimes steep inclines. A cushioning sole unit is important but due to the light pack weight you don't need anything too heavy duty. Look for: - A rugged sole with some extra protection around the toe - A waterproof membrane to keep your feet dry - The boot shouldn't be too high at the ankle, just enough to stop you rolling your ankle laterally but still have some flexibility as you bend forward - Lightweight and flexible through the sole unit - if you're not carrying heavy loads then go for the comfort of a more flexible boot. Synthetic boots are usually lighter than their leather counterparts. - Fit should be the same or around half a size bigger than what you normally wear in casual shoes
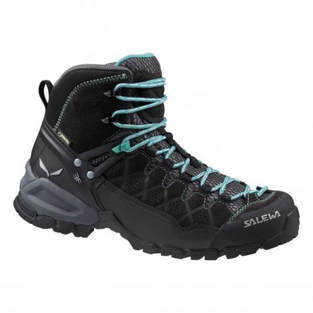
The Great Walker You love multi day hiking but you only go a couple of times a year so you want comfortable, sturdy boots that will last you for years. While you can walk for days, it's usually on pretty well formed tracks with minimal off-route wandering but a solid 65L pack on your back. The key for you is a great sole unit to support those heavy loads but a lightweight upper as your boots don't get bashed around too much. You want great ankle support, some extra toe protection but not a full rand, and they should definitely be waterproof. - Go for a slightly higher cut ankle than the day-walkers for those stream crossings and boulder hopping where you need the extra support. - A waterproof, breathable membrane like eVent will help keep water out while still letting your feet breathe - You want a sole with lots of super grippy lugs for wet tracks and a partial shank for carrying those heavy loads. Your boot should still have some flex in it but it shouldn't feel bendy like the boots and shoes mentioned above. - Fit should be half to a full size bigger than your everyday shoes as your feet will swell after a day of walking and your toes are likely to hit the end on a steep down hill in your regular size. If you stand up straight in the boots before they're all laced up, give your toe a few solid taps on the ground before placing it back flat on the floor. You should be able to fit three fingers down the back of the boot if the fit is big enough - if your whole hand can slip in then try half a size down.
The choose your own path, bush-bashing free spirit You're not sure where you need your boots for exactly because you tend to take the path less marked by DOC. A normal weekend might involve some scree running, wading through matagouri or trudging up a river bed for 6 hours. You just need to know that wherever you end up, your boots will do the job. You're probably carrying at least 15kg and sometimes up to 25kg for that five day traverse to nowhere you keep talking about. Durability is a big deal as your boots get worn as often as any other pair of footwear in your wardrobe and you don't want to have to replace them too often. Having something that you can throw a crampon on is a bonus and you want serious traction control from your soles. Look for: - A full rand - it'll protect your boots from getting shredded on scree slopes and your feet from sharp rocks - Waterproof and breathable - for those few occasions when you're not wading thigh deep through rivers all day - Crampon compatible midsole (this is usually a separate insert to the sole which creates a heel lug with which to attach a semi-automatic crampon) - Stiff sole with little flexibility or if you never intend to use crampons go for something with a fraction more movement when you bend your foot - Fit should be a size above what you normally wear in your everyday shoes and try them on with both a liner sock and a thicker hiking sock - Lacing should lock your heel back and down into the sole
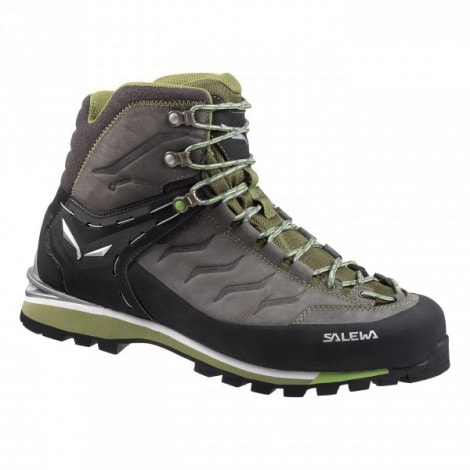
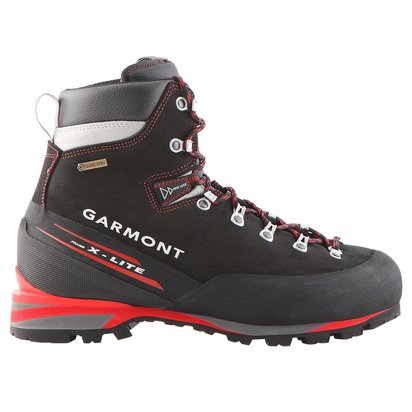
The Mountain Purist If you're this person then you probably don't need to be reading a "how to" blog about boot buying but just for comparisons sake I'll finish off with actual mountaineering boots. Without getting into an argument about whether plastic boots are better than leather I've stuck to the more traditional leather boots which are totally suited to NZ climbing especially if you're just starting out. The most readily available which you can purchase in store are La Sportiva with their Nepal Evo at $949.90, Scarpa's Ortles GTX at $749.99 and Garmont's MTN Guide Pro GTX for $899.99. These boots are fully crampon compatible, insulated and completely rigid. They do not make good general hiking boots because there is no flexibility for walking on trails and they're much heavier than traditional backpacking boots. They're designed for snow, ice and rock and are necessary if you want to progress from the odd alpine pass to actual mountaineering. 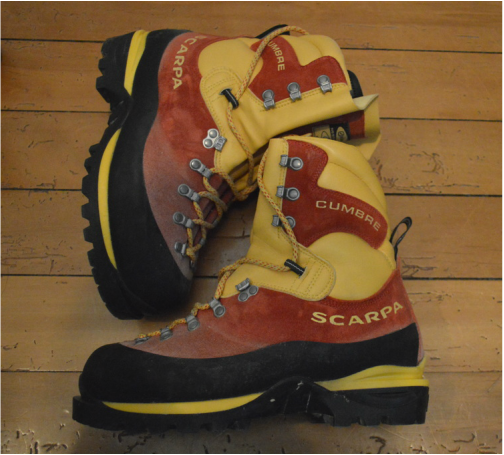 My Scarpa Cumbres are surprisingly comfortable for a fully rigid boot and they keep my toes toasty down to below zero. They weigh twice as much as my hiking boots though so I keep them strictly for actual mountain climbing  Some of my favourite outdoor adventures to date have been in the middle of winter with snow everywhere and a lot less people around. Getting to the hut at the end of the day and cranking the fire up to thaw out your toes is pretty satisfying, but suffering through the experience of tramping in the winter months is easy to avoid with a few simple additions to your kit and allowances to your plans. So before you settle in to binge watch that next series on Netflix, take another look at the topo maps and see if you can't tick off a few more huts before spring. 1. Location, location, location Do your homework and make sure you pick a hut with a good fire and plenty of places to get firewood from before you go. If you want to be super hard core then you can bring your own kindling in to get the party started as dry wood can sometimes be hard to come by depending on how good the previous tenants have been with putting stuff in the wood shed. If you're heading somewhere without a fire then make sure your sleeping set up is warm enough for sub-zero nights - a 3 season sleeping bag with a silk liner is good place to start. For those of you opting for a night in a tent, choose an insulated air core mat with a higher R-value to keep you warm on the ground. Remember the days are going to be shorter so keep in mind that being able to walk for 10 hours straight is only as good as having 10 hours of daylight to walk in (or a really good head torch). Picking a track that gives you plenty of time to reach the hut and collect that all important firewood is key to you having a good time. We've taken axes with us on occasion and made an afternoon of restocking supplies for the hut. Chopping up a few trees is also a really good way to stay warm and entertains that lumberjack fantasy I know you secretly have. Part of your initial planning should include avoiding any significant river crossings if you're still learning to look after yourself in the wild - not getting wet should be your major priority. Whenever you go tramping it's always helpful to read trip reports and look for areas where you might have issues if the weather changes suddenly. This is even more important in winter as the risk of hypothermia can often lead to poor decision making even by fit and experienced trampers. If the route is prone to slips and/or avalanches, make sure you have a plan B or exit strategy if conditions turn out differently from what you expect. A few things change when the mercury hits zero and one of those is the white powdery stuff. This makes for magical instagram shots, snow angels and also an impressive disappearing act by the track. If your intended route is poled this will make things easier but be prepared to follow your map more closely than you would in summer when well-worn paths are clear as day. Add a little more time on to your intended trip length for wading through fresh snow or negotiating slippery rocks, you'll be surprised how much time you can eat up trying not to fall on your butt. If the track goes over a pass you'll need to carry an ice axe and crampons even if you're unsure if you might use them or not. Also, learn how to use your ice axe and crampons somewhere safe before you need to try them out on a not so safe slope. This could be a great excuse for a day trip somewhere to play in the snow for a few hours but still go home to a hot shower. *Until you can self-arrest from upside down flying backwards down a slope (this is how we were made to practice) then your ice axe probably falls more into the "decorative" category 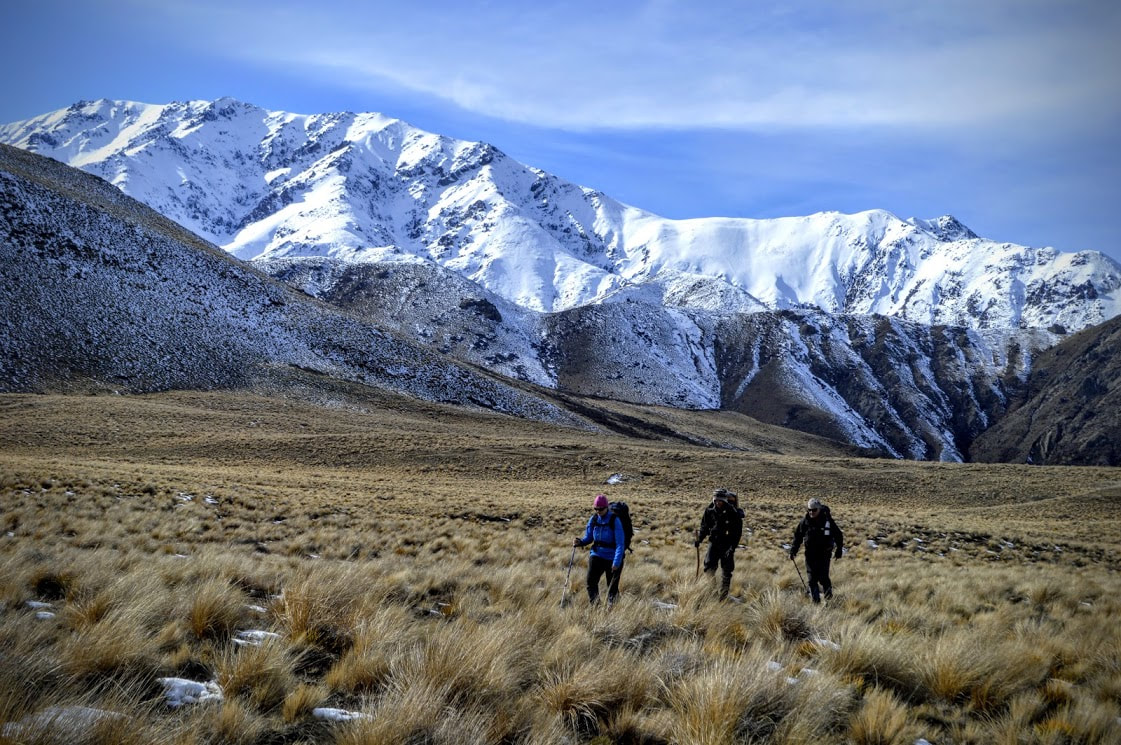 2. Stuff to wear Just because you need to stay warm doesn't mean you suddenly need to hire 50 porters and 12 donkeys to carry your gear for an overnighter. The secret is being able to layer everything you have into one epic weather proof suit of pure warmth. With the exception of a spare set of thermals to sleep in, I wear a thermal layer top and bottom, high pile fleece mid layer, insulated jacket, waterproof hardshell and softshell pants (I always carry waterproof pants for anything more than light rain). If I got soaking wet from say falling in a river (please don't test this theory) these will warm back up with my body heat as long as I'm moving and uninjured. If I need to stop moving due to injury then I'd change into the back up thermals, get in my sleeping bag and set off my beacon but I'd still be warm. In reality my insulated jacket (I carry a Macpac Pulsar Primaloft Gold Jacket) is usually too warm to walk in so I keep this in a dry bag in my pack for wearing when we stop for food or at night in the hut. Until you've been able to test your gear in the wet and cold and see how it performs it's better to err on the side of caution and take an extra dry mid layer to keep in your pack for emergencies. A spare pair of dry socks is an absolute must, I keep one pair dry for at night and put the wet ones back on each morning if we're walking for a few days. Anything else you choose to add is up to you but make sure you don't go too crazy adding weight as moving at a good speed and taking fewer breaks may be better than a slow, cold trudge to the hut. Keeping your head, neck and hands warm is just as important as your core so find a combination of accessories that gives you good coverage and stays warm when wet. Merino is ideal for this and I always carry a merino neck gaiter or balaclava to keep me warm especially at night. I'm all about taking everything I need and nothing else but I have two words that may be about to change your life.... Down Booties. Hut shoes are nice and stuff but these babies weigh next to nothing, are snow proof on the bottom and act like tiny sleeping bags for your feet. While the traction control is somewhat questionable on ice, you'll be so stoked not to have to put on wet, half frozen boots for that midnight trip to natures urinal. They also keep your feet toasty inside your sleeping bag if things get seriously cold! 3. Appetizers and Refreshments
Food is fundamentally important to sustaining us everyday. To the tramper who is three days walk from civilisation and feeling like things are turning a little bit Revenant-like, food is everything. Unlike on a summer hike where it's less socially acceptable, gas here is definitely your friend. Take twice as much and embrace hot drinks, hot soup, hot noodles and hot water in your alloy bottle inside a sock (the sock stops you burning your hands and makes for a nice hotty in your sleeping bag at night). Interestingly it's also a good way to dry wet socks... You will want to eat more when it's cold so on top of the usual Freeze Dried staples it's important to pack an extra "treat bag" full of all the worst/best things for you. I'm particularly fond of Picnic Bars, condensed milk and that instant cheesecake mix that you just add margarine to. Eat often and make sure you take the time for a hot drink if it's particularly cold going midday. An insulated flask is a nice addition to your kit as you can fill it with coffee in the morning and still have a hot drink a few hours later, even if there isn't anywhere to pull out your stove. Water may be harder to come by if you're travelling up and over a pass so make sure you melt plenty of snow for drinking water when you have the ability to or fill up in the last stream you pass before heading to higher ground. 4. Bonus Points Pack the following and be a GC (good camper). - Newspaper to start that fire I keep mentioning - bonus points if you leave some for the next group - Matches and candles (see above) - A book - you're going to have more time in the evening to kill before bed so bring a sudoku, cross stitch or that Ukulele you keep meaning to learn how to play - Bothy Bag - this is an emergency shelter that will help warm you up if you fall in that river. While it's no good to actually sleep in (we tried - too much condensation) it's great for getting out of the rain to eat lunch, sort some gear out or have a little cuddle. - Emergency Locator Beacon, these are getting pretty easy to hire now so there's no excuse for not carrying one per group - Thick, insulated and water resistant gloves, because everyone likes warm hands - Sun Glasses, don't worry you'll only ever forget them once - Epicly warm sleeping bag - 3 season at least (comfort rating -5 degrees to -10 degrees) and pair with a silk liner. Yes it's expensive but it'll last you a decade usually so price it out by year and casually compare it to say what your spouse may spend on their hair/car/coffee addiction in the same time. - Front spoon - when tramping with a partner opt to take the preferred front spoon position for maximum warmth and strategically place yourself between them and the fire. Better still, take your favourite K9 companion, they're like giant hot water bottles if you can get past being licked sporadically throughout the night. - An actual hot water bottle - ask your local pharmacy if they have any half size hot water bottles, worth the extra weight 100 times over extra clothes to sleep in. |


 RSS Feed
Proudly powered by Weebly